
0
It seems like everyone today has their own website, or knows how to publish one. Most times, you would think that creating a website takes days to do, and requires programming skills, coding skills, and all sorts of training in order to create a simple website. In reality, creating a website from scratch is difficult, however new programming developments from a company in Orem, Utah have changed the way you will create websites forever. This program, BlueHost, makes it simple for everyone, no matter how tech savvy they are, to create websites with ease.
BlueHost was founded in 2003, and has been one of the best web host and domain providers available for purchase ever since. In order to have a website running successfully, the first step is to choose the right host for your site. BlueHost provides 3 different package options for the web designer in all of us, no matter how simple or complex you would like to make your website. If you need a little more storage or domains, your BlueHost account can easily be upgraded.If you use WordPress to run your site, BlueHost offers a 1-click install.
If you think this sounds a little complicated, have no fear! Designrfix and BlueHost have teamed up together to provide you with a step-by-step tutorial for purchasing and setting up BlueHost on your computer.
Visit their website at www.bluehost.com.
Step 1.

Go to www.bluehost.com to begin you access to BlueHost. This is what the home screen should look like.
Step 2.

In the top right hand corner, click on the “login” button. This should take you to a screen asking you to type in your username and password. Underneath those boxes, there are two options to choose. Select “create account”. This will take you to a screen with 3 options. Choose which of the three programs would work the best for you.
Step 3.

If you don’t already have a domain, create one in the left box (ex: domain.com). If you already have a domain, type it into the box on the right.
Step 4.

After entering your domain information, you should be taken to a congratulatory page if your domain isn’t already in use (hence, you can’t try to create a domain called youtube.com, because it already exists!). From here, fill out your personal information.
Step 5.

Directly below the “account information” section is where you will find the payment information section. This is just a confirmation page as to exactly what you want to purchase from BlueHost, plus it gives you options of specific add-ons. You will have to give them your credit card information in this step as well.
Step 6.
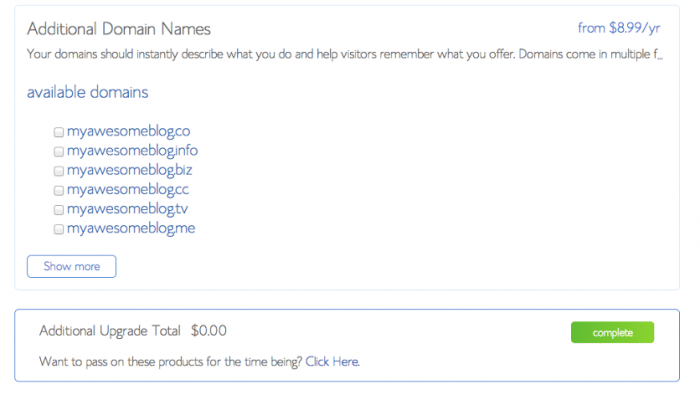
You can add additional domain titles that match the purpose of your website under the next screen. If you aren’t interested in additional domains, you can simply bypass this step.
Step 7.
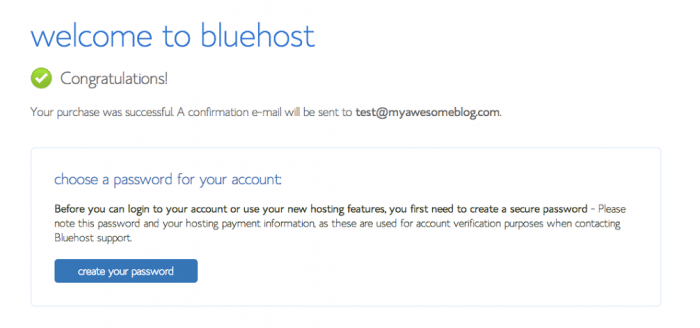
From there, you are the official owner of a BlueHost account! BlueHost will send you a confirmation email, and you will also create your password for you account.
Step 8.
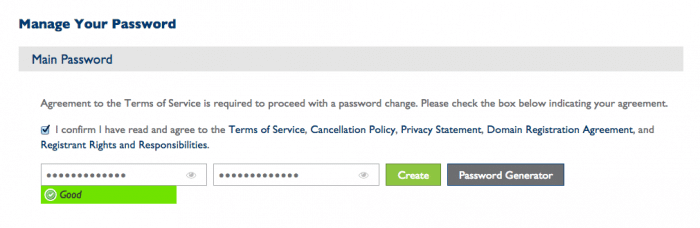
This is where you will create your password.
Step 9.
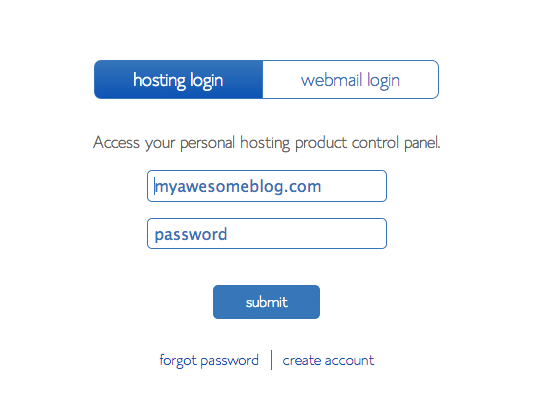
You can now log into your BlueHost account by entering in your domain name and password!
Step 10.
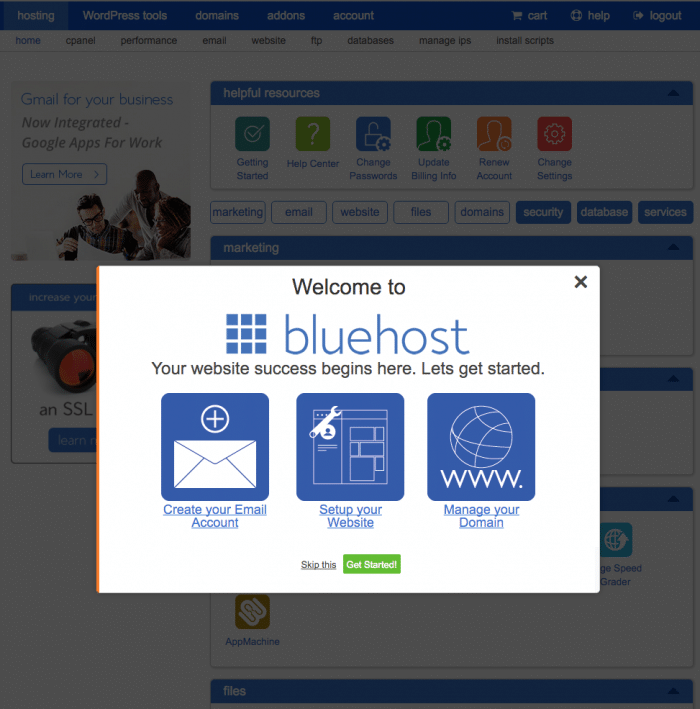
This will be the first official screen that you will see upon entering your BlueHost account. From this screen, you can begin setting up your domain with all of your usual sites and apps that you use while online. It offers you a helping hand, but this is completely optional if you believe that you can handle setting up your account on your own.
Step 11.
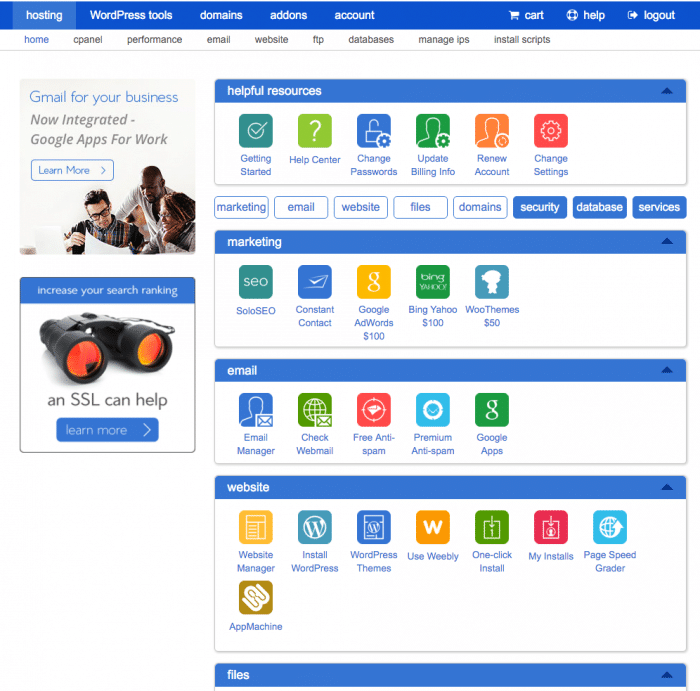
This is your BlueHost homepage. You can access all your different accounts, passwords, email, and apps from this single screen. Take a few moments to search around and get yourself accustomed to the system.
The rest of the steps are for those of you who are also owners of a WordPress site or blog.
Step 12.
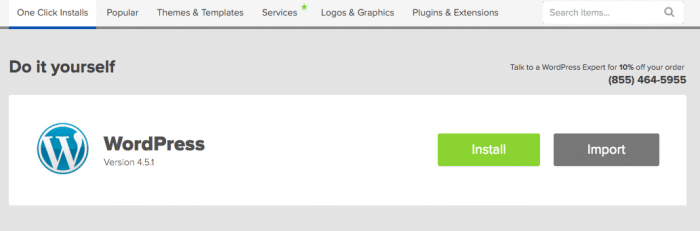
You will first want to click the “install” button to connect your BlueHost profile to your WordPress account.
Step 13.

Search and select your domain from the dropdown list to add it to WordPress.
Step 14.

Upon selecting your domain, your blog will begin installing itself to your BlueHost account.
Step 15.
Your final step to connecting your accounts will be filling out this page for your WordPress account.
Step 16.
From here, you can begin designing your WordPress site by selecting a theme using the “Browse All Themes” button.
Step 17.
This will make you sign into your new WordPress account.
Step 18.
Finally, you will be able to log into your WordPress account and begin running your site!
We hope that this article and tutorial have helped those of you who have already entered into the world of BlueHost, and those of you who are looking for a little extra protection when it comes to surfing the web. Whether you are a young business person, a head of a household, or just getting started on the internet, BlueHost should certainly be given a try.
Visit their website at www.bluehost.com.


